|
Tutorials - Making Mokume
How to make mokume out of several different metal combinations. |
This exact same process can be made for the following
combinations (and many more, these are only the ones I've already
tried myself): 1010 & 1070 & copper, brass & nickel silver,
copper & brass, stainless 304 & copper, stainless 304 &
nickel silver
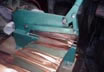
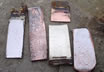
Cutting copper layers (0.25mm thick) into 32 x 200mm rectangles.
(Picture 1)
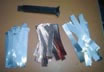
All layers of metal (copper, 1010 and 1070) and the cannister. (Picture
2)
Placing the metal strips into a square section cannister of 1.5mm
thickness. The first and last strips are 0.5mm thickness stainless
304 to prevent welding against the cannister inner walls. (Picture
3)
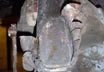
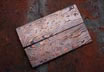
Closing the cannister. (Picture 4)
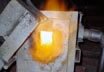
Placing it on the oven at 1200C for 15 minutes. (Picture 5)
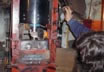
Pressing it. (Pictures 6 and 7)
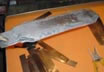
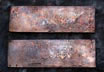
Cannister after being pressed. (Picture 8) |
| Picture 1 |
|
Picture 2 |
|
Picture 3 |
|
Picture 4 |
|
Picture 5 |
|
Picture 6 |
|
Picture 7 |
|
Picture 8 |
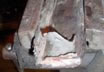
Still hot. With some pliers I break the cannister.
(15-20 minutes after being pressed. I just drop it on the workshop
floor for that time, so it's still hot) (Picture 9)
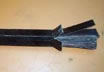
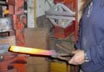
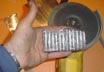
Stainless strip. (Picture 10)
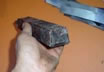
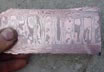
After taking the welded piece off the cannister (half ingot) I make
some cuts to get it to draw some more. (Picture 11)
After making the cuts, I place it on the oven at 200C and leave it
there til it reachs 850C (about 10 minutes total time) and then I
press the ingot again til it reachs about 8mm thickness, so after
grinding it has 6mm. (Picture 12)
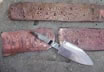
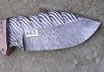
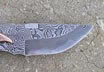
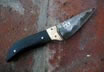
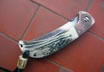
After it cools, I grind and etch it. |
| Picture 9 |
|
Picture 10 |
|
Picture 11 |
|
Picture 12 |
|
|
|
|
|
|
|
|
|