|
Tutorials - Case Hardening
a Hammer
Case hardening (or surface hardening) is the process of hardening
the surface of a low carbon steel, by adding carbon into the material's
surface, forming a thin layer of a harder/hardeneable alloy. This
way we obtain some 1/10s of mm of hardened steel, without modifying
the core hardness. |
 |
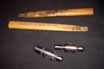
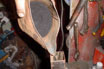
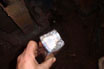
For this example I'm going to use to hammers my nephews
made in high school. Since I'm they favorite uncle, they gave them
to me to use. (Picture 1)
This method allows us to make manual tools with relatively ease by
using a softer steel or to get new life to older tools that already
lost their original supericial hardness.
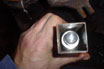
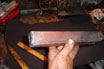
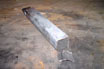
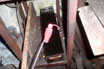
To start I'm gonna need a container, so I use this square section
iron pipe. (Picture 2)
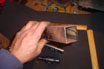
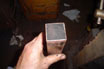
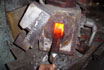
I add powdered vegetal charcoal mixed with 10% of regular kitchen
salt. (Picture 3)
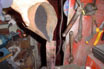
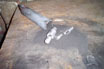
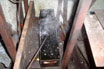
Then I put one hammer head inside. (Picture 4)
Some more charcoal/salt mix. (Picture 5)
Then the other head. (Picture 6)
And keep adding powder til the pipe is filled. (Picture 7)
Then I weld close the cannister. (Pictures 8 and 9) |
| Picture 1 |
|
Picture 2 |
|
Picture 3 |
|
Picture 4 |
|
Picture 5 |
|
Picture 6 |
|
Picture 7 |
|
Picture 8 |
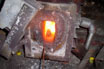
After the can is closed, I put it on the oven at 900C
for 2 hours. (Pictures 10 and 11)
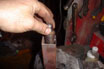
Once the 2 hours passed, I retrieve it from the oven and open the
welded end. (Picture 12)
As they come out of the can. (Picture 13)
After I get the surface carburized, I HT at 850C, with a second HT
at 350C. (Pictures 14, 15 and 16)
The used steel was SAE 1030, and after this entire process I got an
aproximate hardness of 56Rc |
| Picture 9 |
|
Picture 10 |
|
Picture 11 |
|
Picture 12 |
|
Picture 13 |
|
Picture 14 |
|
Picture 15 |
|
Picture 16 |
Finished Hammers
Hardened hammer heads. (Picture 1)
Installed on the handles. (Picture 2) |
|